
In a previous post, I explained the steps to set up Office 365 to transfer email accounts from Gmail to Office 365. This blog post will explain how to migrate the existing emails to Office 365 to keep important data.
You need the email address and password for every Gmail account you want to migrate. (We decided to make custom passwords, and let our users know what they would be in advance, so they could log in with their new passwords after we changed them and continue emailing.)
Open Excel and create your Migration Template. The Colum headers must be exactly as follows without quotes.
Fill out the fields and save as a CSV file.
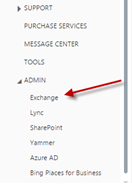
Back in O365 Navigate to the Exchange Admin tab on the left navigation column.
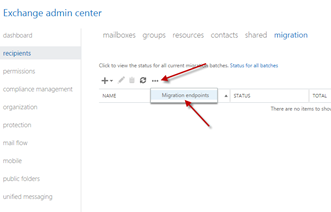
Click on the Migration link.
Click on the ellipses and then Migration Endpoints.
Click on the plus sign.
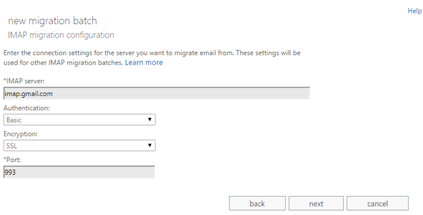
Chose IMAP and next.
Set the IMAP server to imap.gmail.com and keep the default settings the same.
Give your Endpoint a name, and leave the other boxes blank. Click new to finish and then close.
Back in the Exchange Admin Center click the plus arrow and choose Migrate to Exchange Online.
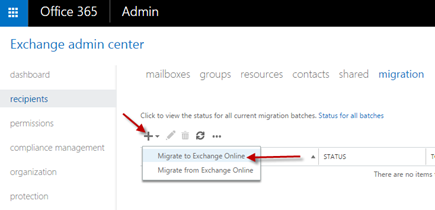
Choose IMAP Migration and click next.
Click Choose File and navigate to the Migration CSV file you created earlier, then click next. The migration file was three columns with O365 email/Gmail Email/Gmail Password. O365 will verify the file and display any errors that may exist. After validation, it displays the number of users listed in the file that will be migrated.
Leave all values as default and click next.
Type the name of the migration batch in the box – the default value is the name of the migration template you uploaded, then click next.
Choose the recipients to receive the migration report once complete. This must be an existing user. Select automatically start the batch, then click new.
The mailboxes you designated are now syncing. Take note, depending on the size of the mailboxes this can take from minutes, to hours, to days to complete.
Once the migration is complete, whomever you set as the recipient will receive an email showing the results. And the Exchange migration page will show synced. After syncing, the migration will continue to sync new emails once a day.

