
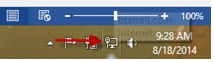
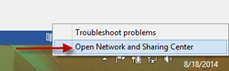
Setting up a Virtual Private Network (VPN) is easy in Windows 8/8.1. To begin, right click the network adapter icon in the bottom right corner of your screen.
Click on the “Open Network and Sharing Center” option.
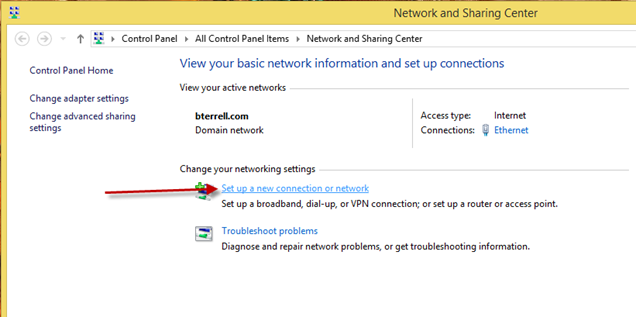
Select the “Set up a new connection or network” option in the Network and Sharing Center
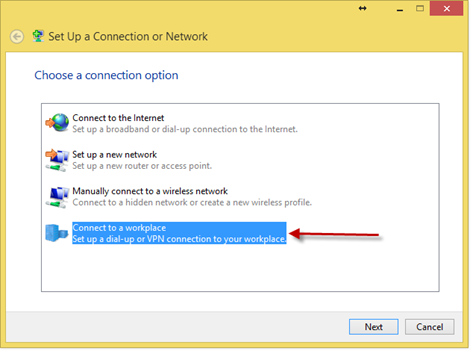
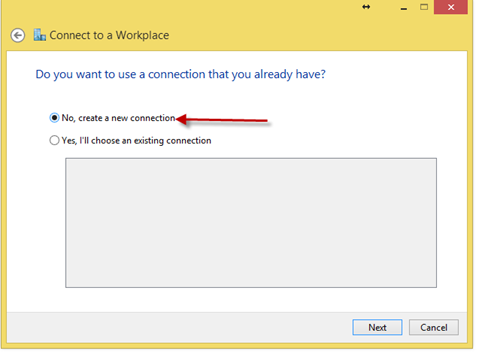
Select “Connect to a workplace” and click next.
Select “No, create a new connection” and click next. (This step may automatically be skipped if no connections have been set up before.)
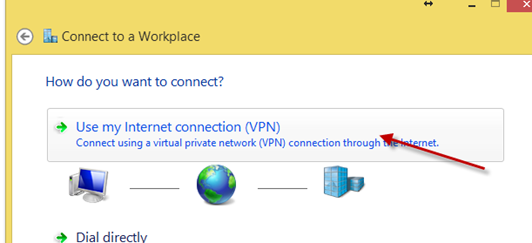
Choose “Use my Internet Connection (VPN)” and click next.
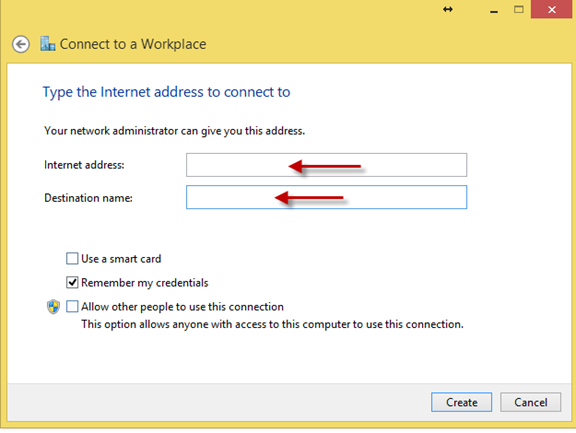
Fill in the information requested and then click create.
Internet address: Ask your IT department, it may be an IP address or name like vpn.mycompany.com
Destination name: Can be whatever you would like the connection to be named.
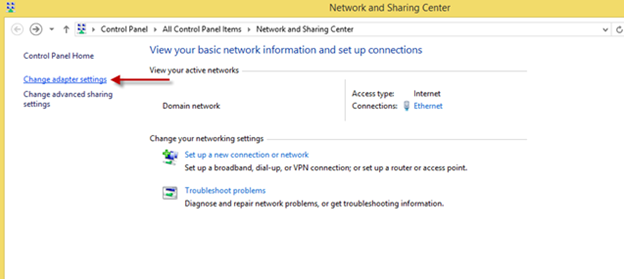
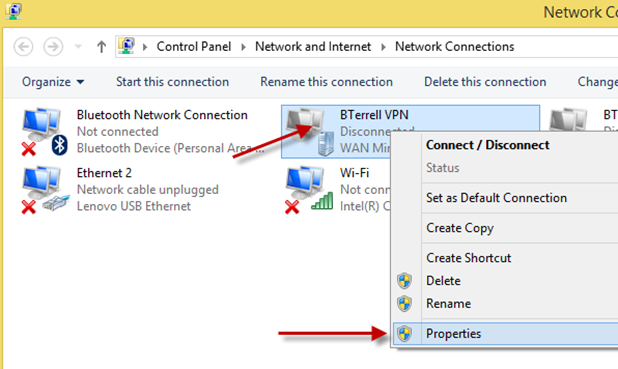
Your VPN connection has been created, but Windows 8/8.1 require a few additional settings to be made before the VPN will connect correctly. To go back the Network and Sharing Center, click on “Change Adapter Settings.”
Right click on the connection you just created, and click on properties.
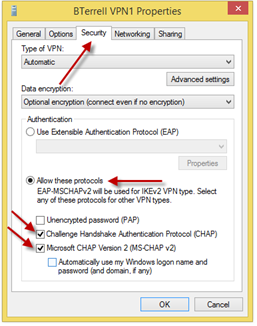
Click on the “Security” tab at the top, then select “Allow these protocols” and check “Challenge Handshake Authentication Protocol (CHAP)” and (Microsoft CHAP Version 2 (MS-CHAP v2). Then click OK.
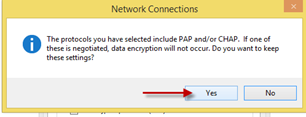
A window will pop up, click Yes.
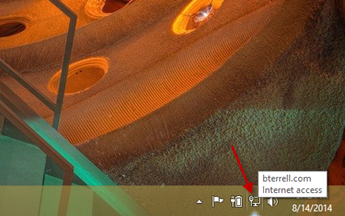
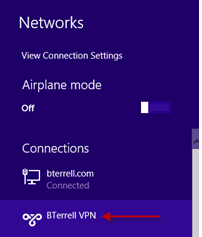
Your VPN is now set up and ready to use. In order to connect, click on the network adapter button on the right hand of the task bar.
A slide out window will appear, under the “Connections” heading select the connection you created (I used “BTerrell VPN” for mine).
Enter your Domain Login information and click ok.
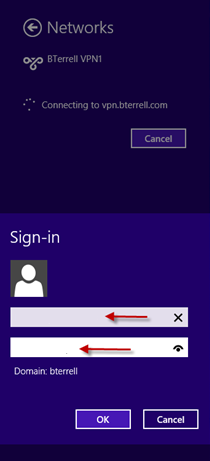
You are now connected to the VPN.